How can I edit Item Specifics for multiple listings?
To apply same item specifics (allows you to add new item specifics or change existing item specifics), follow these steps:
Click on the menu option:
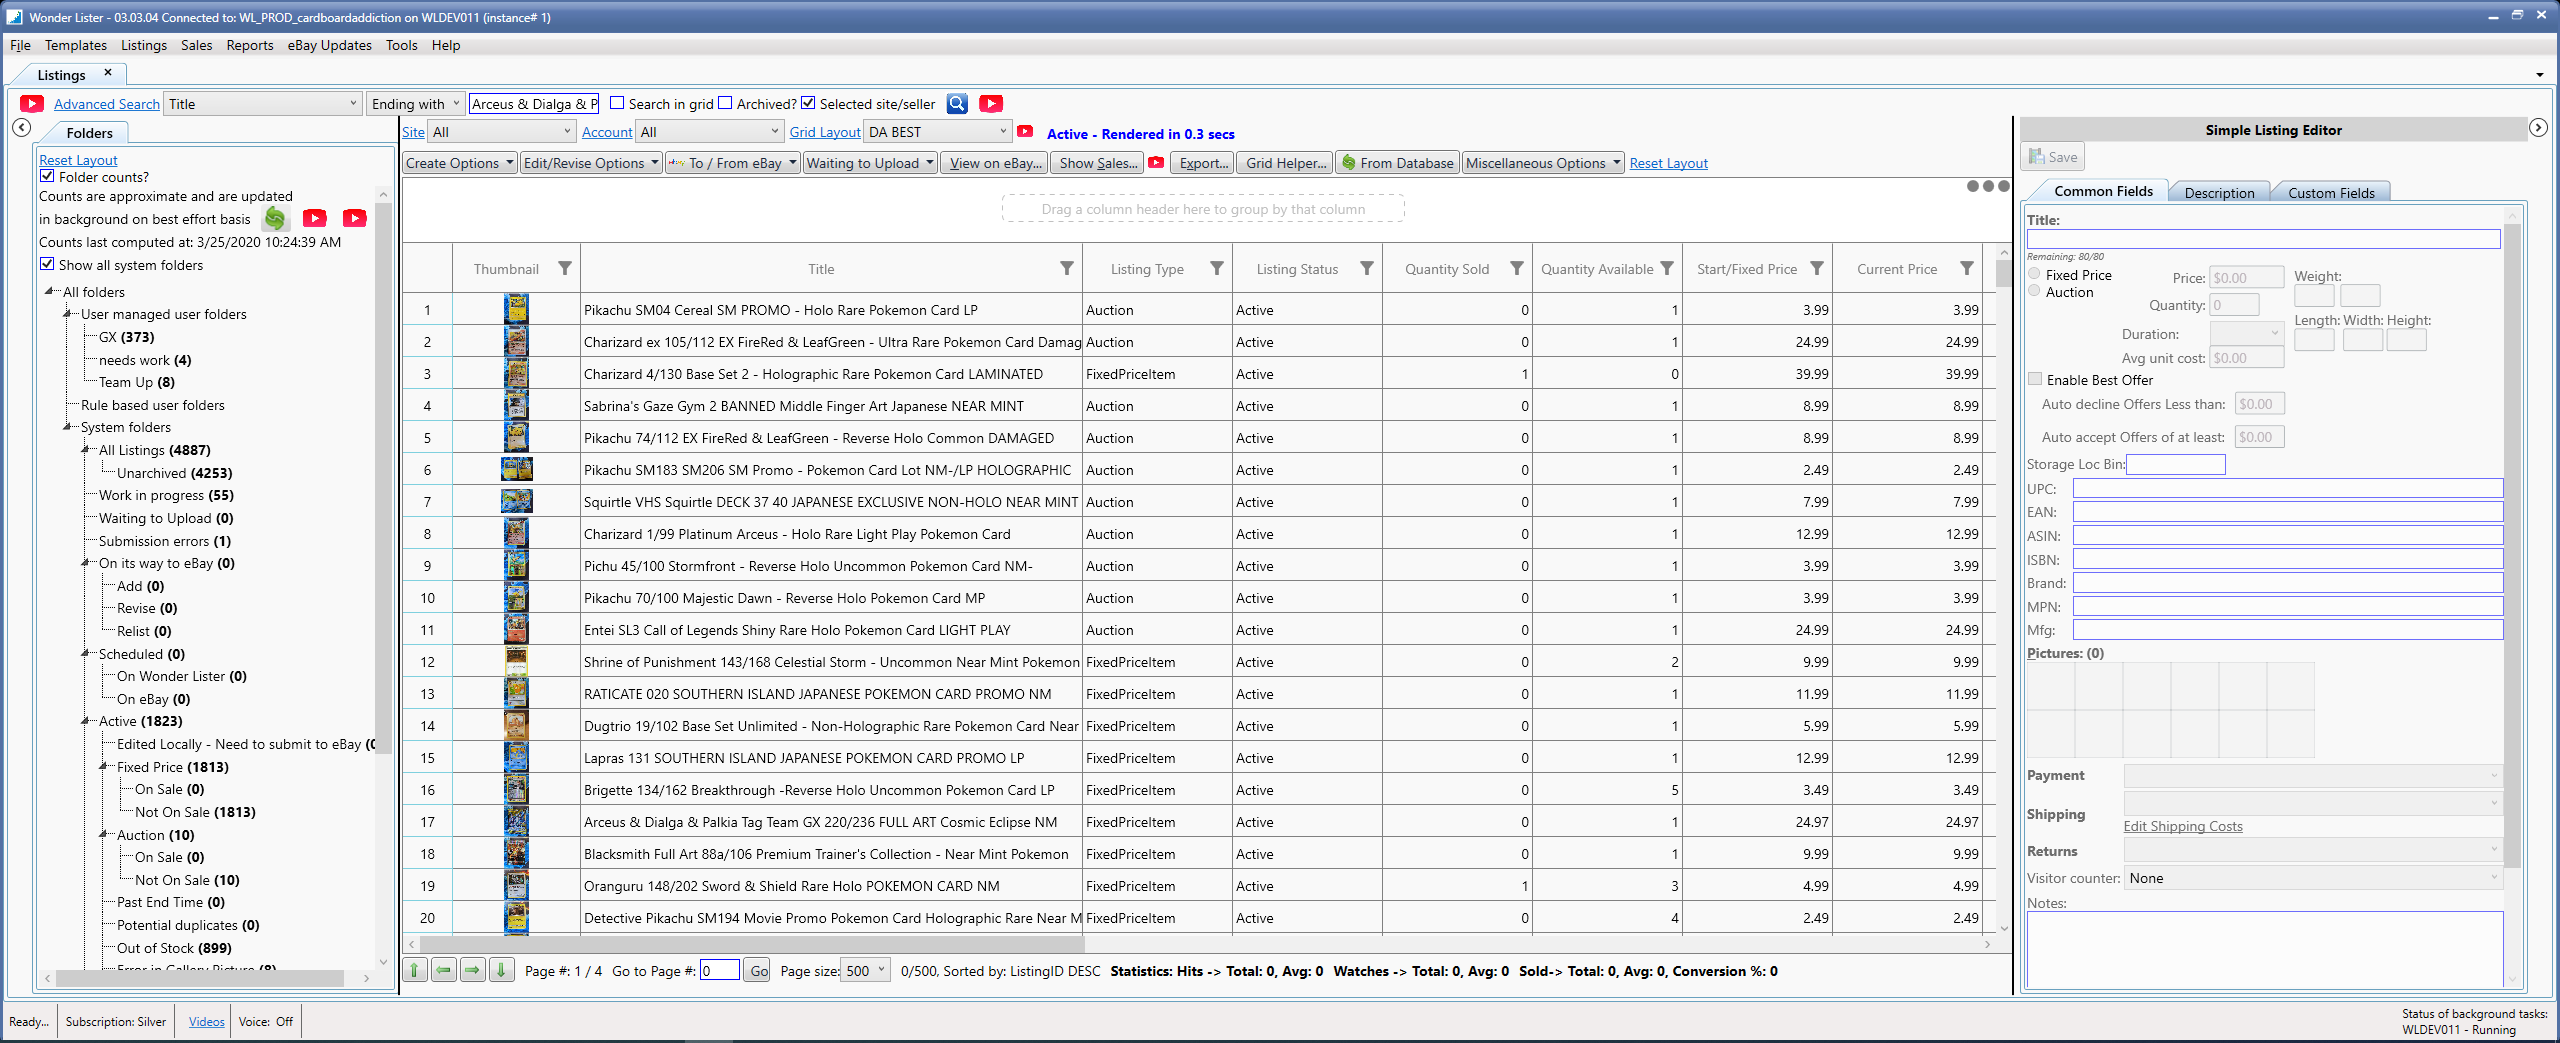
Listings > Manage
A new tab "Listings" will open.
Select one or more listings which you wish to edit
Click on the option "Edit/Revise Options" > "Bulk Edit Item Specifics".
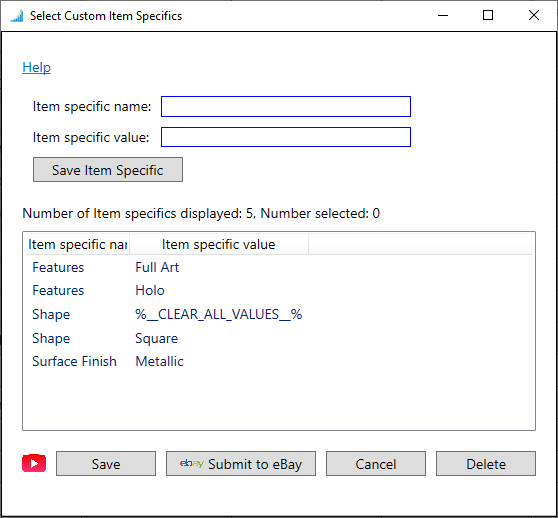
A new dialog will appear as shown below:
The table will show any previously saved Item specific names and their values (that were saved using this dialog).
Enter Item specific name and value you wish to apply to your listings. The Item specific name can be a name already in use in the listing (in which case the current value in the listing will be replaced by the value you enter in this dialog). If the name you enter is not already present in the listing, then, it will be added. You can enter same name with different values.
Enter a value for the name. This value will be used to add or replace existing value(s) for the specified item specific name in the listing.
Example
say you wish to add two item specifics to selected listings. One named "Surface Finish" with a value of "Metallic" and second named "Shape" with a value of "Square".
If the table does not already have the (name, value) combination, you can add them.
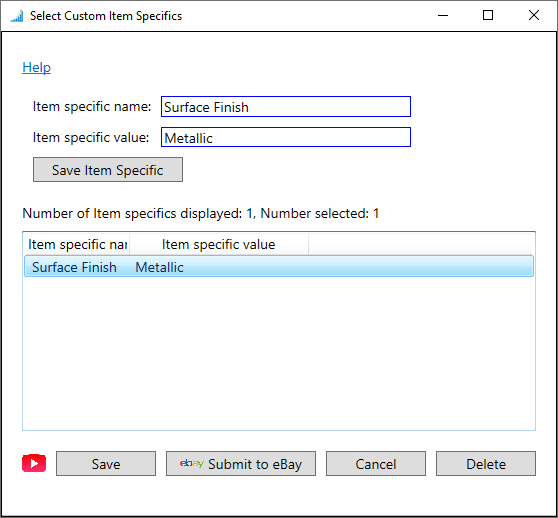
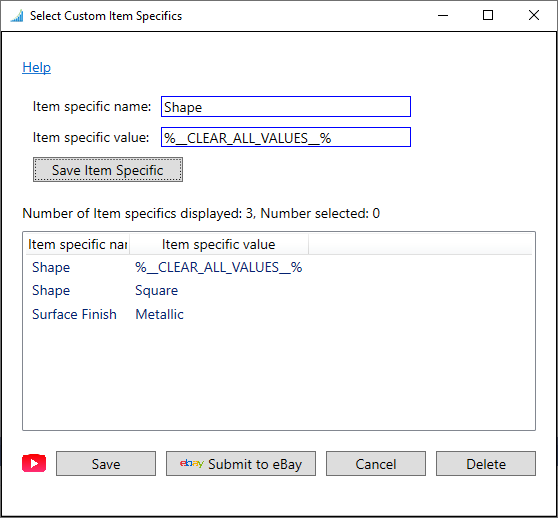
So, enter "Surface Finish" in Item specific name textbox and "Metallic" in the Item specific value textbox. Then, click on "Save Item Specific" button. Exact same name and value combination can't be added.
The added item specific will appear in the table as shown below:
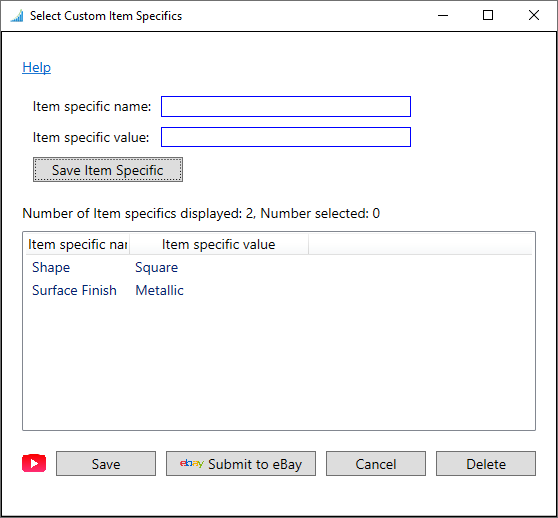
Similarly, enter "Shape" in Item specific name textbox and "Square" in the Item specific value textbox. Then, click on "Save Item Specific" button.
The added item specific will appear in the table as shown below:
Now, assume that one our selected listings already has an item specific named "Shape" with multiple values say "Rectangular", "Circular". The above steps will simply add "Square" to existing values and the listing would finally have all the three values. If you wish to first CLEAR all existing values that may already be present in the listing, add a special value %__CLEAR_ALL_VALUES__% to Shape as shown below:
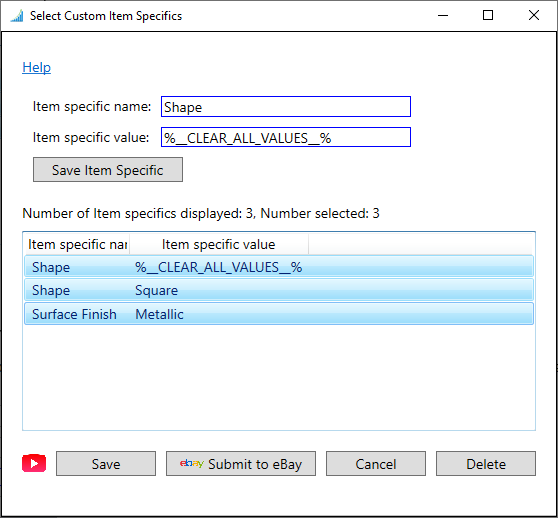
Now, select all the rows in the table (these are the ones we want to apply to our listings),
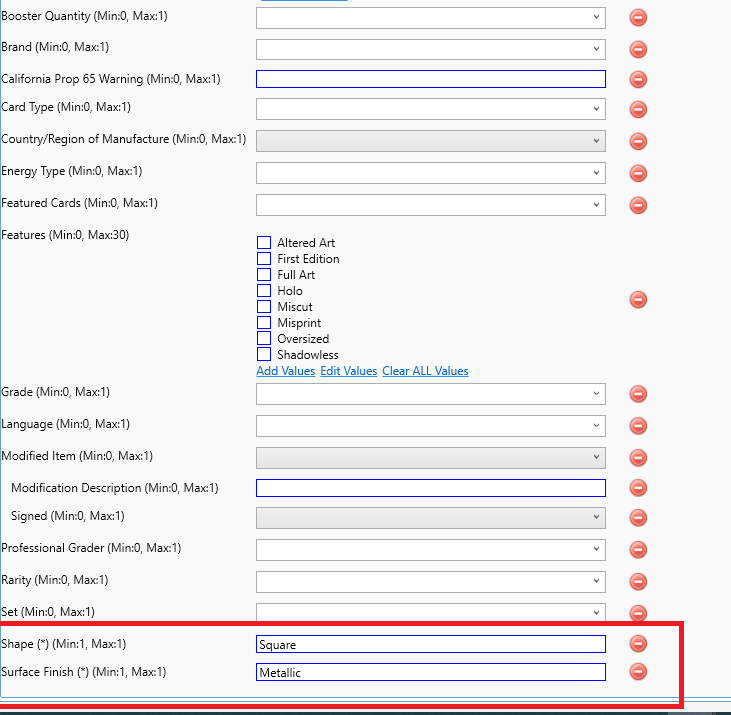
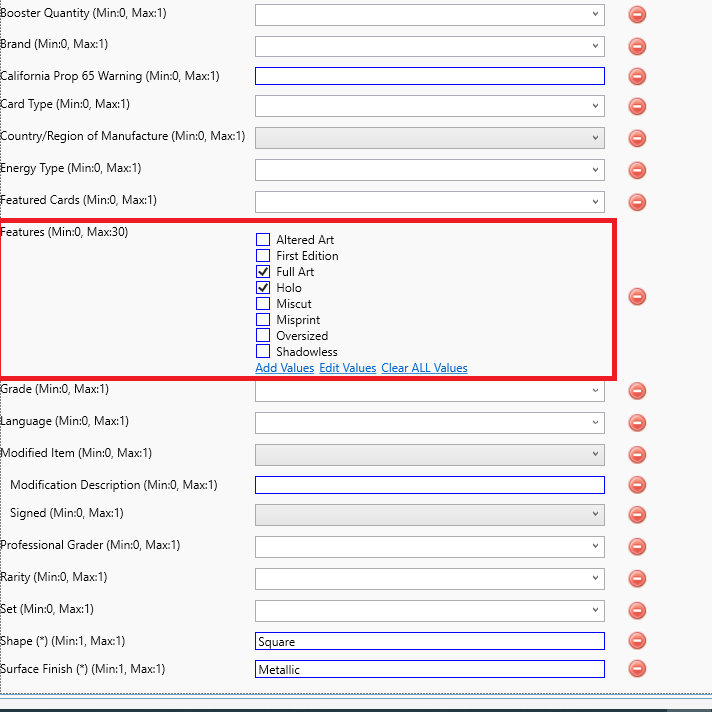
Click on "Save" button to apply the selected item specifics to selected listings. If you now open up by double clicking on any of the selected listings on which the item specifics were applied, you would see the change as below:
If you added a wrong name or value, select it in the table and click "Delete" button.
Example:
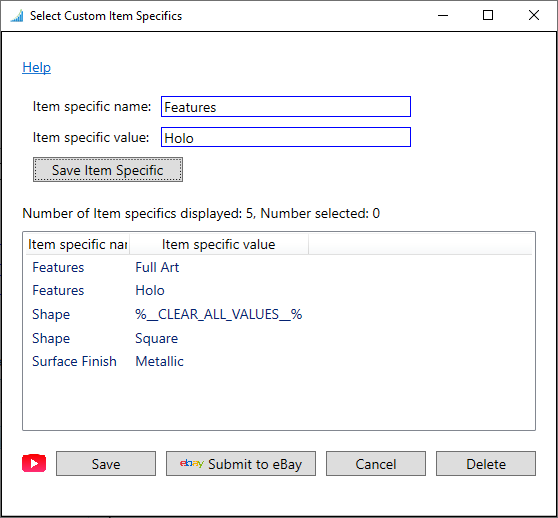
In the above screen shot, you can see that there is an item specific by the name of "Features" and none of the checkboxes against it are currently checked. Now, if we want to use this feature to bulk apply two values (Full Art and Hole) to selected listings.
Enter "Features" in the Item specifics name textbox.
Enter "Full Art" in the Item specifics value textbox.
Click on the button "Add Item Specific"
Repeat the above steps for value "Holo".
You will see the following:
Select both the rows for Features and Click on the button "Save" to apply the selected item specifics to selected listings. If you now open up any of the listings, you will see both the checkboxes checked as shown below: